Try Shooting in Aperture Priority
After more than 40 years in photography, I’ve come to understand that our art consists of two major distinctions. The first is creative vision. In my mind, creative rules – the right mental attitude, the vision, the motivations- but in this blog I’ll discuss one technological issue that seems to plague amateur photographers. That is the decision to shoot in manual, aperture priority, shutter priority or fully automatic.
I’ll be the first to admit that today’s DSLRs do a pretty fine job on automatic. Set it and forget it. The camera’s onboard computer does all the calculations, averages out the exposure values in a scene and- voilà !- you have a nice photo. Coupled with autofocus, you will almost always come back with a decent photo.
But for a professional or advanced amateur, ‘decent’ is just not good enough. In fact, it can be the kiss of death. We look for images that go beyond decent to great, memorable. Average simply doesn’t cut it.
If we eliminate the totally automatic setting, then, we are left with three choices : manual, aperture priority or shutter priority. The choice between these three may be simpler than you might imagine. Think of it this way. Let’s leave manual for now, although it is perhaps the most common modality for professionals. Shutter priority allows you to control the shutter speed. If you are shooting sports or any subject that is moving rapidly and you want to freeze the action, select shutter priority. Set your camera to the fastest shutter speed that still allows a recognizable image and the camera takes over the rest. For general sports, you would want a shutter speed of at least 1/5o0th of a second or faster. To stop your goalie daughter’s soccer save, you might want to shoot at 1/1000 of a second. Ditto for a NASCAR event.
If you shoot landscape and nature scenes I suggest that you consider shooting in aperture priority. Let’s see why.
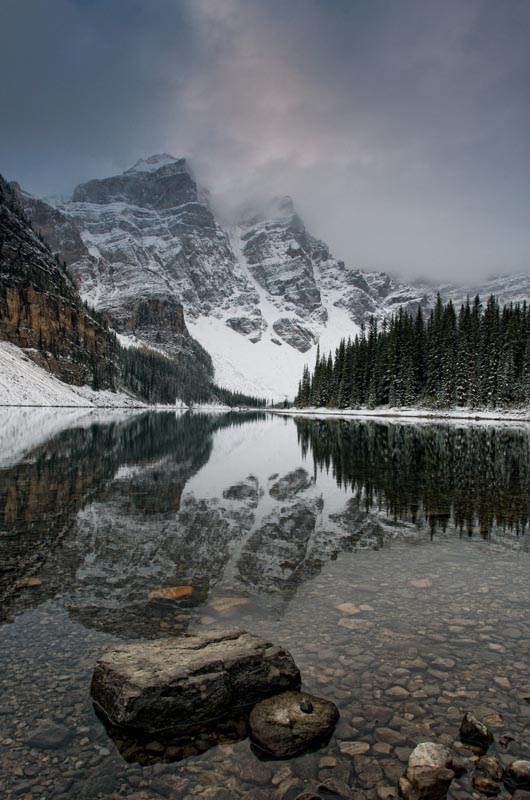
When shooting landscapes, you usually want everything possible to be in focus, from nearby objects to distant mountains. That means you should use smaller apertures, say f11 or f16. Remember that the larger the number, the smaller the aperture. By aperture we refer to the opening in the camera lens that allows light in when you press the shutter release button. As aperture decreases (in other words as it goes from f2.8 to f16, for example, the more individual parts of your scene will be in focus.
If you were to measure how much of the foreground and background is in focus you would be referring to the depth of field of the image. And that’s where knowing how to shoot in aperture priority comes in handy. The rule is this; as the aperture decreases in size, the depth of field increases. Think of squinting. When we squint, we reduce the opening in the diaphragm of our eyes so that the scene appears to be more in focus.
Okay, so how does this knowledge help to create better images? Let’s look at some examples. You want to take a picture of your no doubt good-looking and brilliant child sitting on a park bench. Behind your prodigy is a busy street scene. Cars are whizzing by, trees and flowers clutter the background, and a huge billboard advertising beer (with the requisite buxom cheerleader) is positioned just to the right of your child’s head.
If you are shooting in aperture-priority, you would simply “open up the lens” by increasing the aperture setting to f2.8 or 3.5 or 4.0. That would seriously reduce the depth-of-field, meaning that your child’s face would be in focus, but everything in the background would be blurry. In fact, if you can open up the lens to f2.8 it would render the background a soft blur that would force the viewer’s eye to the face rather than the distractions in the background.
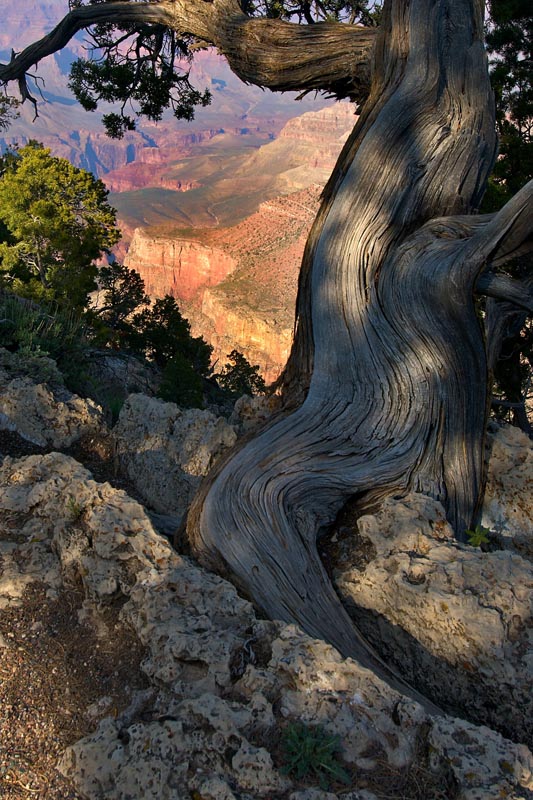
On the other hand, suppose you are standing on the South Rim of the Grand Canyon and want a classic shot of the nearby point that sticks out. But you also want to capture the gorge itself and the North Rim. In this case you would set the aperture on f11, f16 or f22. That would increase the depth-of-field and just about everything in your image would be sharp.

One final point. You may wonder why the aperture settings are so oddly numbered. The usual complement of f stops in most lenses is: f2.8, f4.0, f5.6, f8.0, f11, f16 and f22. These numbers are actual the product of the formula that calculates the surface area of the camera’s diaphragm opening. Fuggedaboudit. The only important thing to know is that each f-stop successively halves the amount of light entering the lens as you go from f2.8 to f22. Conversely, as you go from f22 to f2.8, the amount of light hitting your camera’s sensor doubles each time you increase one f-stop.
To paraphrase Ansel Adams, photography is nothing more than capturing and manipulating light. If you want to increase the depth-of-field you will be decreasing the amount of light entering the camera. So that means that for you to get a balanced shot you would need to allow the diaphragm to remain open longer. In some cases you may need to leave the shutter open so long you may need to use a tripod to nail that Grand Canyon shot. Usually, most adults can hand-hold a camera up to 1/25th of a second without hand-shake that would blur the image. If your camera tells you that at f16 you would need to use a shutter speed of 1/10th of a second, do yourself a favor and mount the camera on a tripod.
So, if you’re currently shooting everything in Automatic, try aperture priority next time you’re out. You’ll gain more creative control over your images and once you get the hang of it I’ll bet you’ll like your images a whole lot more.