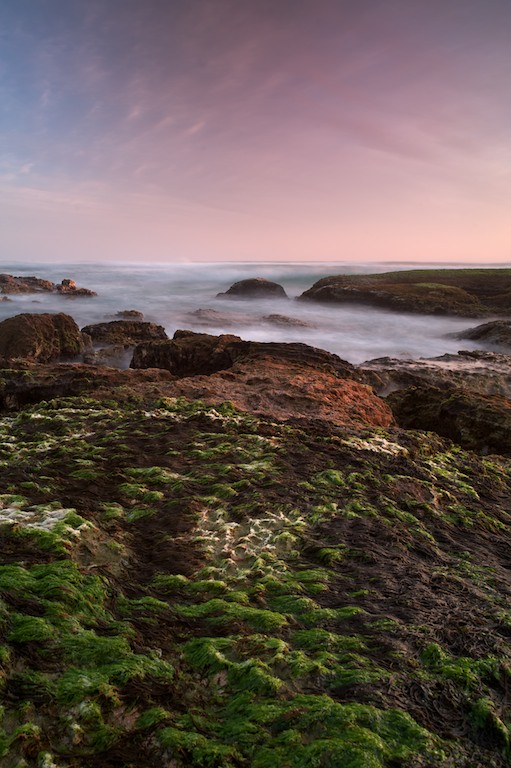
Foreground is Forewarned
Don’t say I didn’t warn you! If you’re shooting landscapes, one of the most effective means of adding interest and impact is to include a foreground element. I know we hear this a lot nowadays, but what I find is that this is usually mentioned as an aside, without providing enough detail for the photographer looking to improve his or her skills. I’m hoping to add flesh to the bones here, so please bear with me.
I believe it was George Lepp who said that there is no such thing as a bad day for a nature photographer. After all, even if conditions are miserable, we are out there enjoying beautiful, natural environments. Many is the time I’ve hiked down from a mountain with nary a shot, humbled, and glowing with the feeling of divine grace. So, it’s easy to lose sight of what makes a good image great when faced with that scenic beauty on a lovely day. It’s tempting to just slap on a wide angle lens, screw on a polarizer and snap away. Yes, chances are it will be a lovely shot, but is it the very best image we can create for ourselves or for those who will view our work?
As you study my images that I use as examples in this blog, try to analyze how the foreground elements help (or not) the overall presentation. Most of the time I’m guilty of not shooting comparison images for instructional purposes and I’m guilty of that here. But I hope you’ll still understand the basic principles shown by the images in this blog.
How Foreground Helps
Foreground helps bring scale and perspective to a scene. It can functionally help by drawing the viewer’s eye into a scene. It can create visual interest by adding texture, an interesting form, or a looming presence. It can even add cognitive dissonance by forcing the viewer to confront paradoxes in perception; viewers may not like the image, but they sure as heck will remember it! In the above scene, I lowered my reference point in an attempt to use the foreground to draw the viewer's eyes to the ocean and sky. Similarly with the image below. I stood in the stream and lowered my vantage point to make the rock loom large and point the viewer's eyes to the waterfall.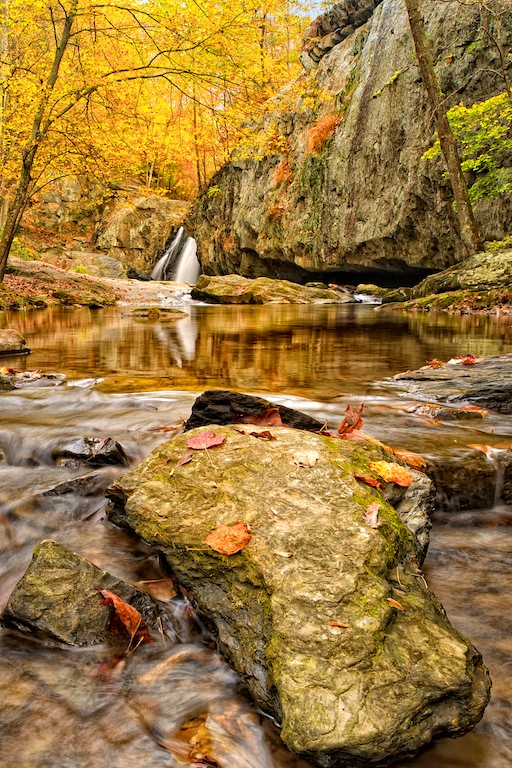
Composing With Foreground Elements
The first thing with using strong foreground elements is to decide on its placement compositionally. In most cases I find that setting the foreground object(s) off center helps. You want the viewer’s eye to move from foreground to background and if the foreground element is smack-dab in the middle of the frame it can act as a barrier, hindering the eye’s movement through the frame. Placing it ⅓ of the way (remember the Rule of Thirds) into the frame will lead the viewer’s eyes naturally into the background. Here I used the highlights in the seaweed to allow the eye to roam from there to the sky and toward the silhouetted rock on the right.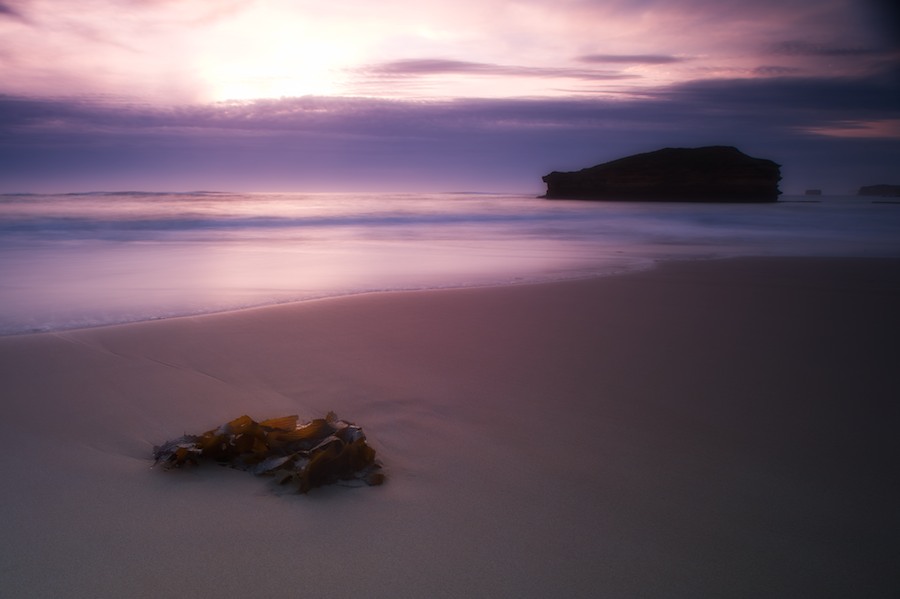
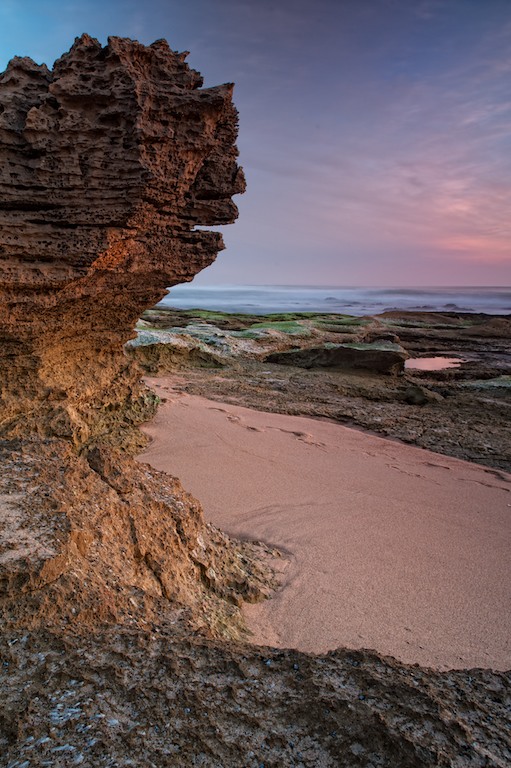
In the next scene, I used a stronger foreground to both anchor the image at the bottom, but also to frame it on the left so that the viewer is lead to the ocean and sunrise sky on the right, as well as the small tide pool that so nicely reflects the sky.
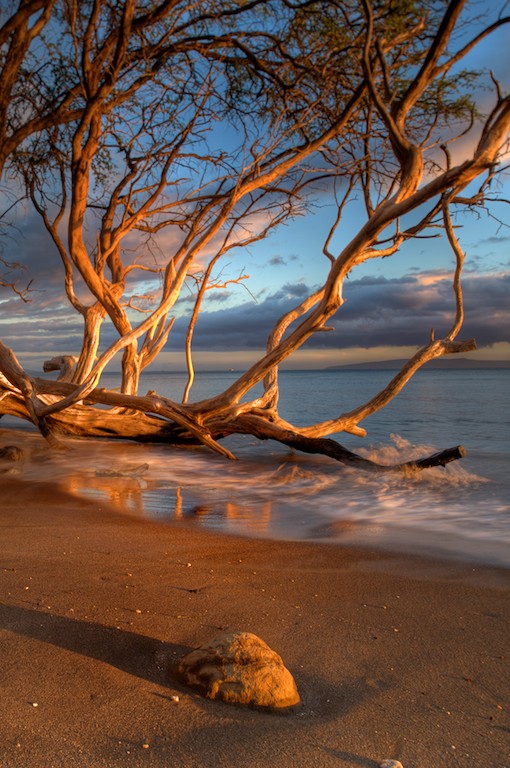
This Hawaiian scene was just ‘okay,’ but the tree alone against the ocean just didn’t do it for me. When I backed up, I saw this small rock thrown into deep shadow and I knew I wanted it as a foreground element.
Depth of Field Considerations
Next you need to make a decision on how ‘focal’ the foreground will be in the overall scene. By that I mean, you need to decide on depth of field (DOF). Do you want to throw the background into soft focus, or do you want to have foreground and background all in sharp focus? This question raises the most difficult series of technical challenges to the photographer and here’s why.For most of my landscapes, I like to have sharp focus throughout the scene, front to back, side to side. That’s just my general preference, although I will alter that for special scenes. To get that front-to-back focus, using a wide-angle lens, I would need to use an aperture opening of f16 or f22, and even then some of the scenes I shoot would not have tack sharp focus in the far background. A lens can only give you so much DOF.
Another challenge I sometimes face with foreground-background focus is that when using f16 or f22 the image displays a decrease of sharpness, or what pros call “softness” in the image. Each lens has an aperture that is optimum, for my lenses usually f8 or f11. Anything more than that, while I may gain DOF, I also lose sharpness. Most people would hardly notice, but a sharp-eyed editor will.
The Foreground Big Gun
I solve both these problems by using a specialized lens known as a tilt-shift (TS) lens or a perspective correcting (PC) lens. I’ll discuss those lenses in more depth in a later blog. Suffice it to say that TS lenses have the ability to shift the plane of focus and make both near and far objects sharp.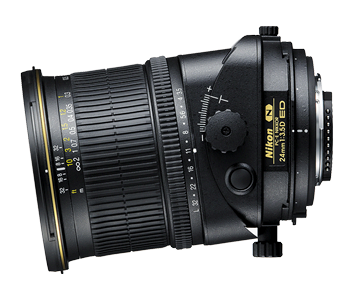
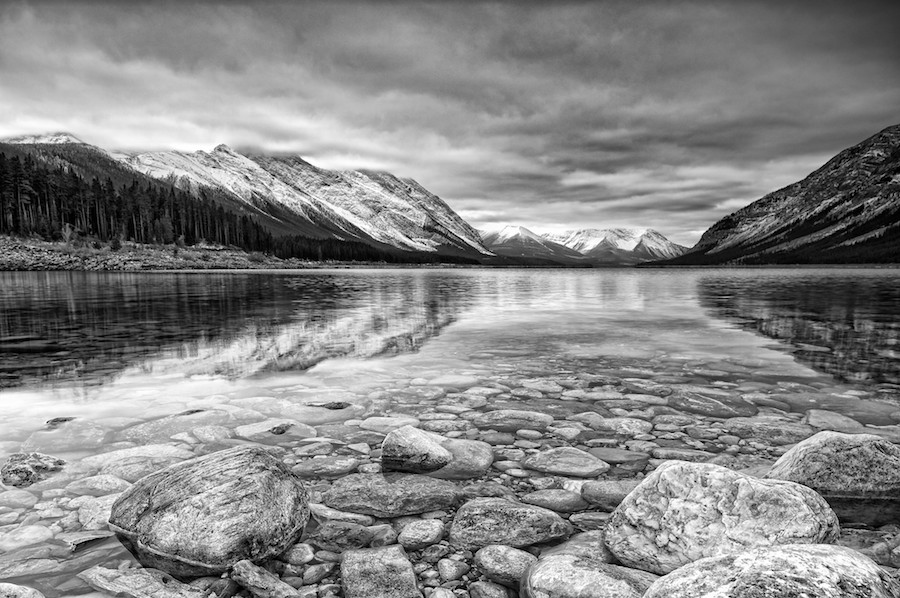
The end result is that I’m able to get a landscape image that is to my liking.I used a tilt-shift in this black & white image to capture everything in focus from foreground to background.
Foreground Works With People, Too
Don't forget that foreground elements work when photographing people, too, as this next image shows. I wanted this image to portray this Ecuadorean woman in the context of her livelihood and culture. The bananas in the foreground make the visual statement I was looking for, but it is the woman's facial expression that does it for me.
Use a Tripod
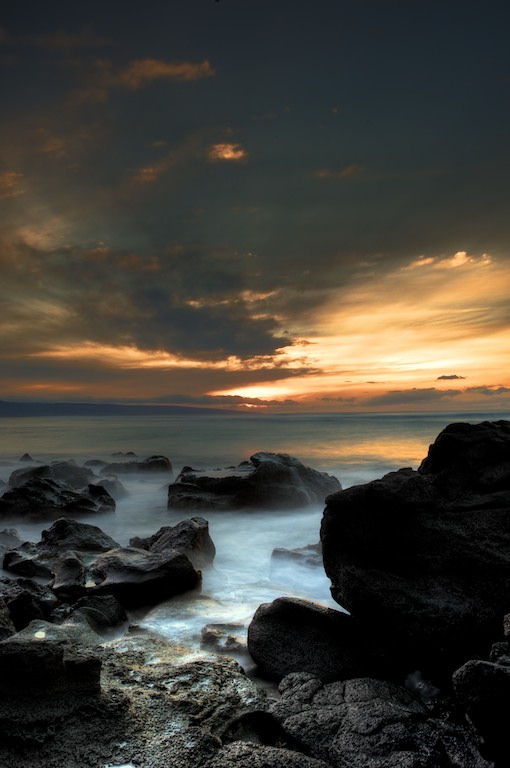
Whatever equipment you use, a regular lens or a tilt-shift, to properly use foreground elements, you really need to use a tripod. I explain this in detail in another blog (https://blog.lesterpickerphoto.com/2010/12/15/tripod-or-lens/). When you think of it seriously, you can understand my rationale. To include strong foreground elements you have to compose the scene properly, critically focus on the foreground object(s) and then stop down (reduce the aperture opening of) your lens. Reducing the aperture means you have to increase the exposure time. Now, try doing all that while hand-holding a camera! The blurry results will make all your efforts wasted.Then again, there are times when it all comes together for the photographer, as happened to me on this sunset in Kahana, Maui, Hawaii. I had come back to this same spot four sunsets in a row until I finally got this scene. The sunset alone would have been lovely. I set my camera for a long, 20-second exposure, allowing the ebb and flow of the tide to soften the water. But I truly feel it is the rocks in the foreground that make the shot. For me, anyway, it was a perfect night.
By all means include strong foreground elements in your images, but be forewarned. Arrive prepared and it will make the job far easier and much more rewarding.