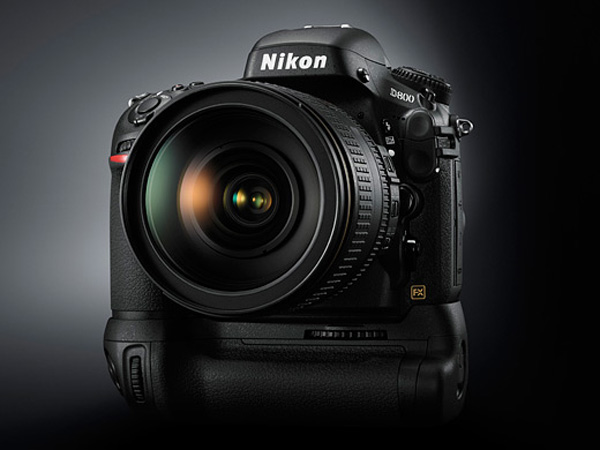
Nikon D800: A Field Test Report
It’s not often that a latest-greatest camera comes out and I feel like I have to have it. In fact, I was perfectly happy with my Nikon D700, which I’ve had since it debuted. It is a great camera; well built, easy to use, and it produces spectacular images. It is flexible and has allowed me to execute my vision, even under challenging environmental conditions. Besides, I also shoot a medium format Hasselblad H4D-50, so I had pixels if I needed them.
When the Nikon D800 was announced I was, quite frankly, skeptical. Initial reports were that it sported a 16-megapixel (MP) sensor. Not interested. That was soon raised to 18-MP. Still not interested. Then it was 24 MP and you know what? I suddenly got interested. I had D3x envy for two years and I figured now was my time to get revenge, and at a price point some $5,000 lower! Sweet.
And lo and behold, when the clouds parted, it came to pass that the Nikon D800 premiered at 36 MP!! Yes, you read that right. 36 glorious, huge, detailed MEGA pixels. I bought one the day Nikon announced its availability.
Now, you’re probably wondering why I would get so excited over a camera that really doesn’t do a whole lot more than the D700. The answer lies in them thar pixels, of course. Much of my business is in large prints. Not the 12” x 18” inch variety, nor the 16” x 24” size. Most of my prints are a minimum of 20” x 30” and bigger- a lot bigger.
Right now I’m in the process of printing thirty, 40” x 30” images for a client, who also purchased several 4-foot wide images, some 8-footers and- ready for this one?- one 29-feet wide by 9-feet tall image! It’s just not possible to get a print even 40” wide from a 12-MP camera and have it come out at the quality I expect, even if one uses Perfect Resize or a similar software program.
So, for this 29-foot wall I needed a solid image of Baltimore. What’s more iconic than Baltimore’s Inner Harbor, I figured? As it turned out, the week I wanted to shoot the Inner Harbor, several tall ships sailed into Baltimore in what was called a Sailabration, to celebrate the 200 year anniversary of the bombardment of Fort McHenry and Francis Scott Key’s penning of the Star Spangled Banner.
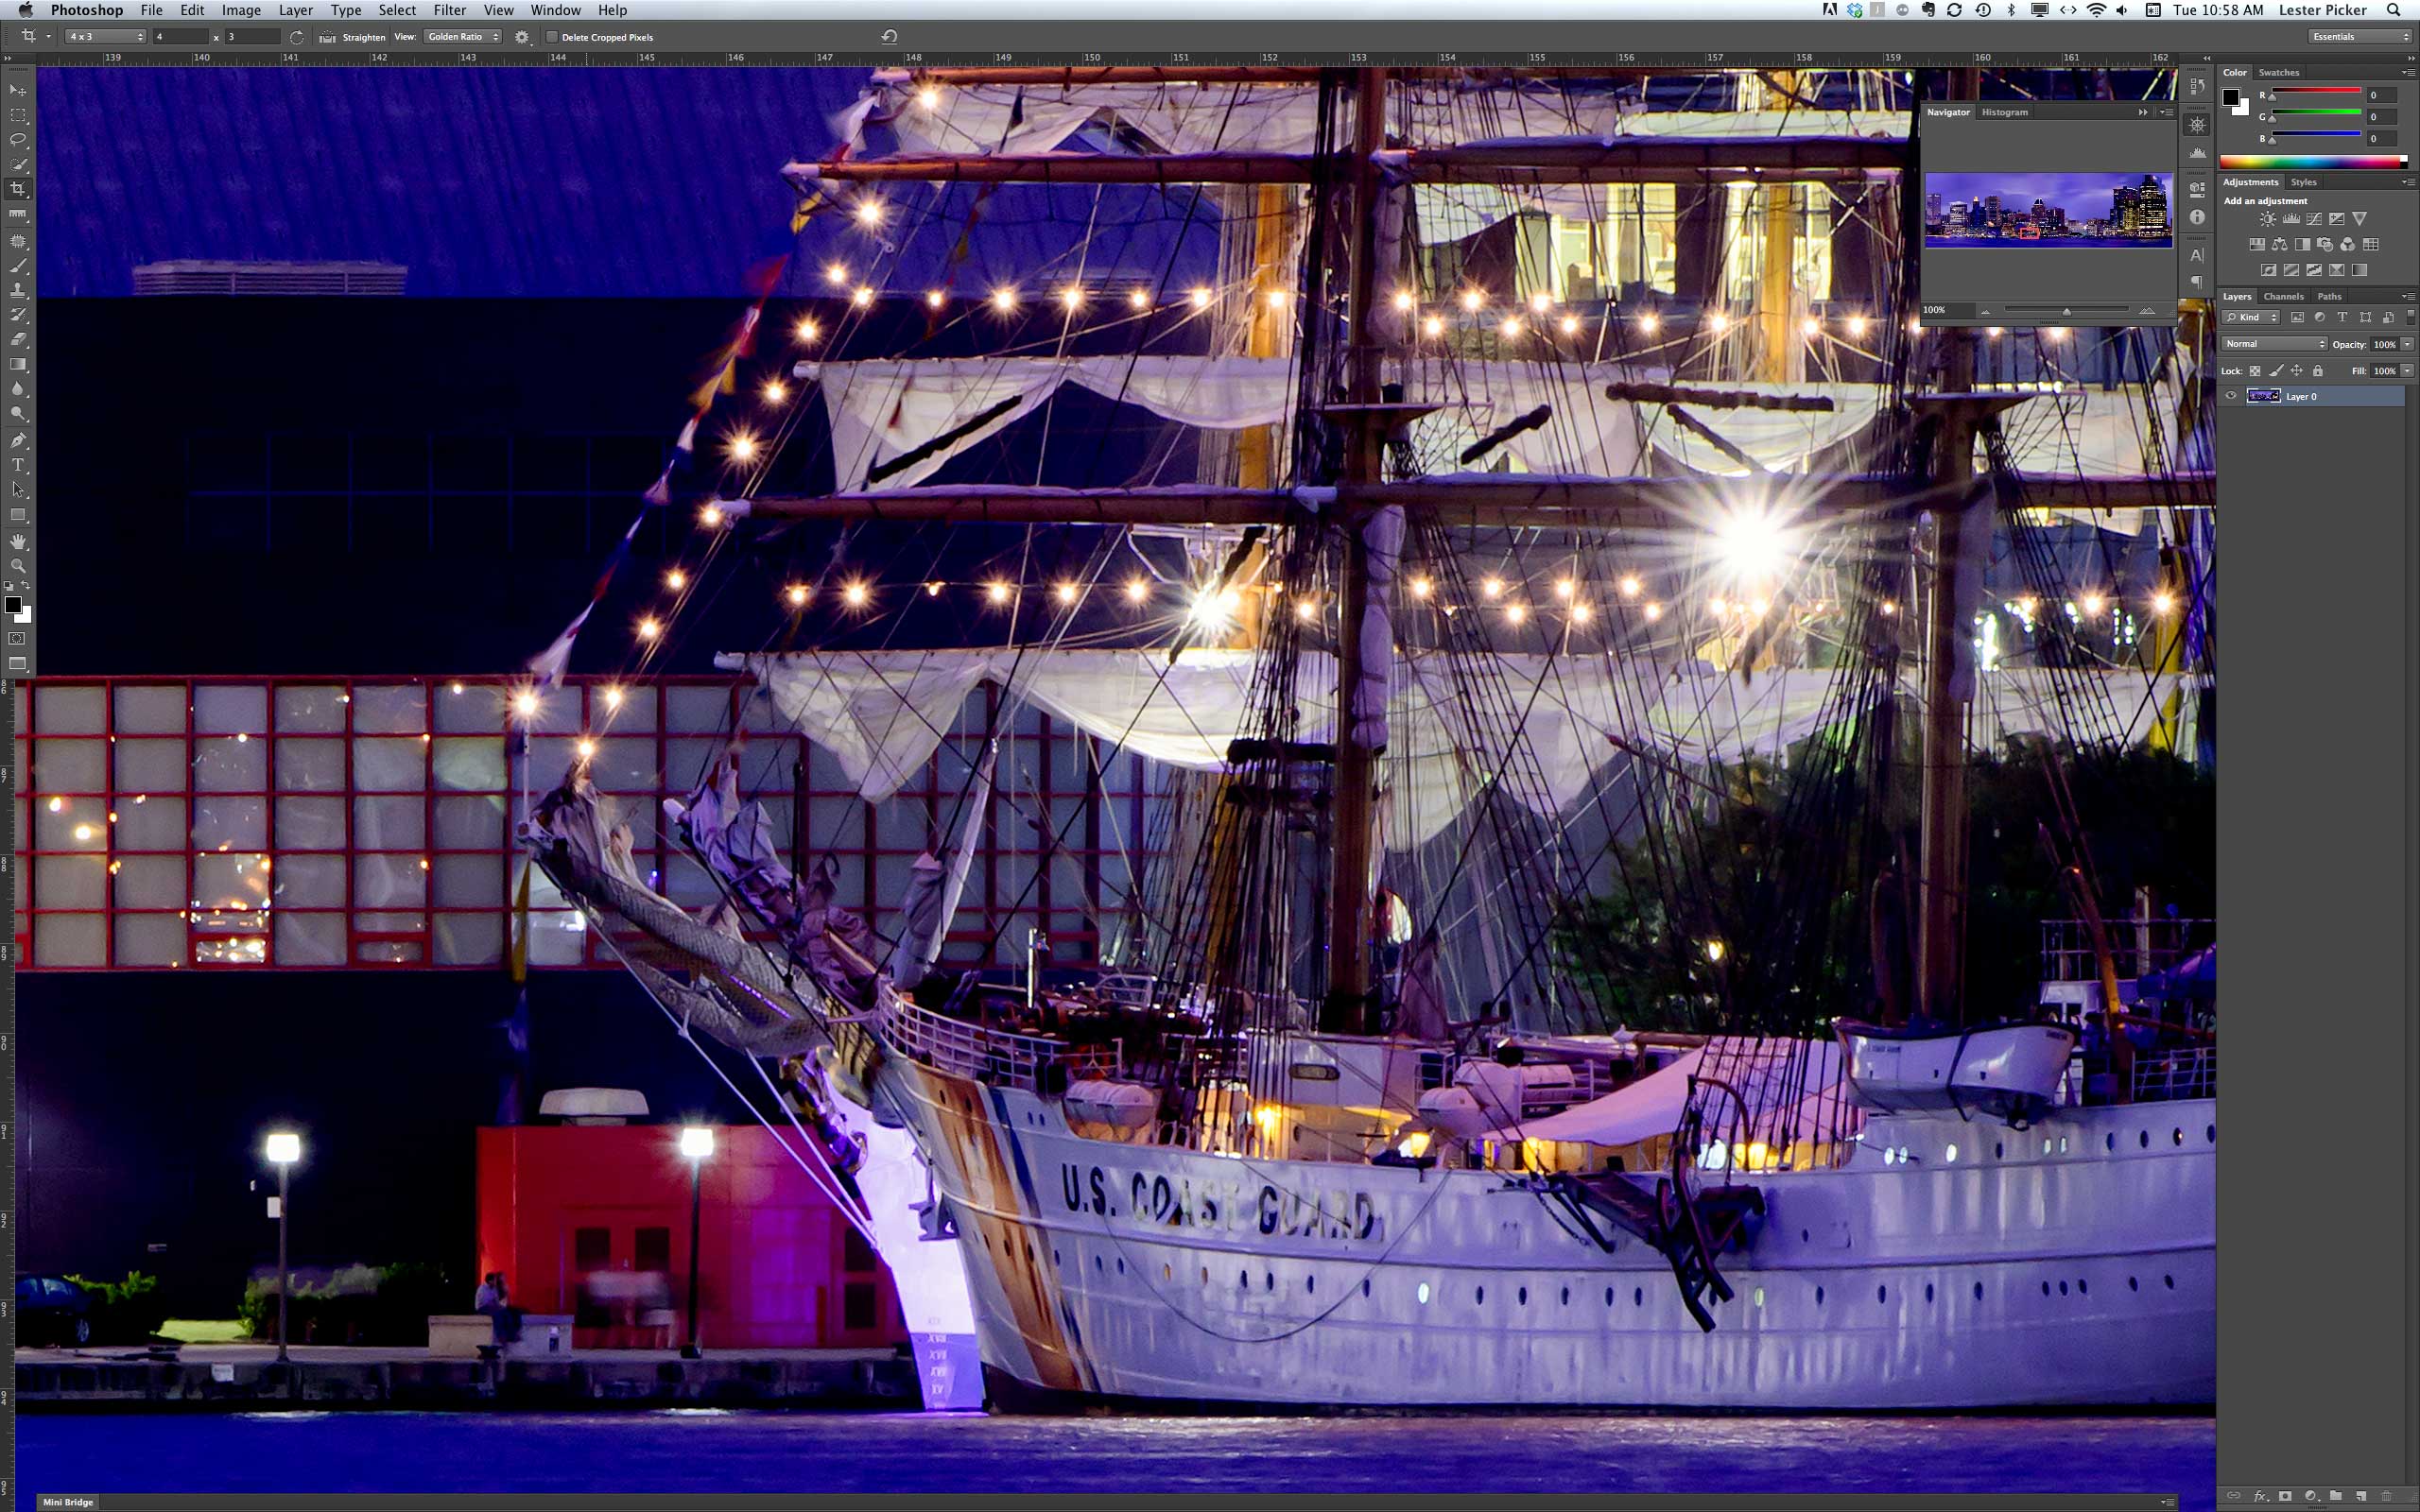
I set up my tripod before twilight, leveled it carefully, mounted my D800 with a 200-400mm lens in vertical position, and leveled that, too, using a Really Right Stuff panning attachment. I checked my pan, left to right, up and down. Once I felt I had the right light, I started shooting. It took 9 images going from left to right to encompass the entire scene with water in the foreground. Then I repeated the sequence tilting my setup to encompass sky and shot another 9. This had to be done quickly to minimize light changes. It was also very windy that day and I had to hang my backpack from my tripod to add center mass.
In post-processing my assistant, Bob Boyer, merged the entire shoot in PhotoShop CS6, producing this image (click on it to enlarge):


So, in this test anyway, the D800 passes with flying colors! More field tests upcoming.
BTW, if you’re interested in Bob’s perspective on the wallpaper image and its installation, check his blog here. Bob also reminded me that the image is actually a tad bit over 30-feet wide, not 29.