Testing Sprays for Prints
I set aside this morning to complete a series of tests that we are running to decide on the best finishing sprays for our fine art prints. We’ve had some issues with sprays before, so these tests are essential to our business and we tend to do a lot of testing. Stick around and I’ll end with some tips for spray finishing your fine art images.
To set the record straight, we use a roll-on spray in our studio for our canvases and wallpapers, usually Museo’s excellent product, Enhance. As a disclaimer, I am a Master Photographer for Museo, but I receive no monetary remuneration from them. I just plain love their papers, some of their other products,such as Enhance, and their people, who are terrific at servicing the fine art photographer community.
Now back to the sprays. We have found over the years that using water-based finishes can result in the paper buckling, which I’ve never been able to correct. Obviously, that then creates problems when mounting and framing.
If you will be framing the print behind glass or Plexiglas, no finishing sprays are needed. But if you plan to do open frames, float frames or simply mounting your prints on Gatorboard, then spray finishing is essential to protect from UV light, smudges and dirt.
A good spray will not be noticeable on your print. By adding a spray coating over the inks once the print dries, it may add a tiny bit of depth to the print, but that is all, and the majority of that is gone as soon as the print dries.
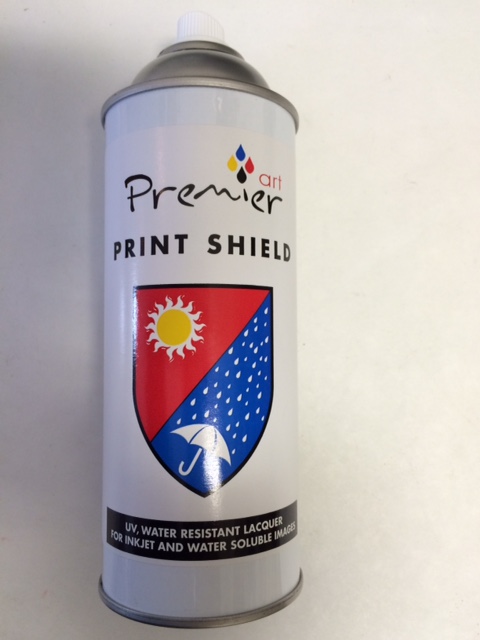
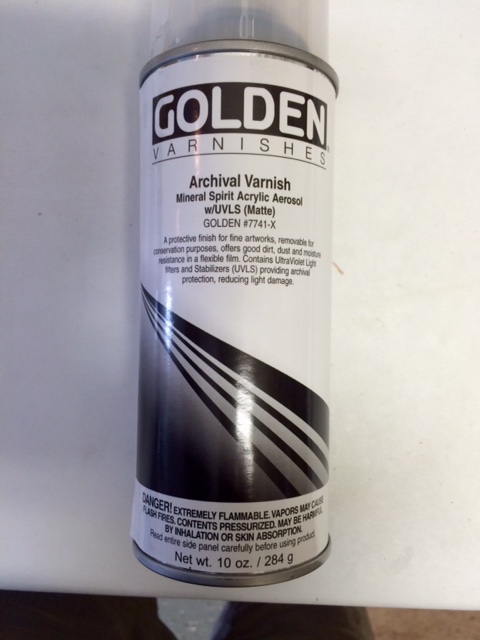
###THE TESTS In particular, this test compared Golden Archival Varnish with Premier Art Print Shield. We have absolutely no relationship with either of these companies. We are just looking for the best products for our fine art prints.
For the test I took several identical prints, printed with the same inks on the same printer. In both cases I compared the same fine art papers, Museo Max and a Hahnemuhle photo rag. One half of the prints I sprayed with Golden and the other half with Premier. In other words, each print only received one spray brand so as not to confuse the results.
First of all, I set my prints, as I always do, vertically mounted on a large piece of cardboard. I sprayed using my standard technique (described below). I did two complete coats on each print. In other words, one set of overlapping passes across, wait 3-5 minutes, turn the print 90 degrees and repeat the spray passes. I repeated this two-step spray once more, for a total of two complete coats.
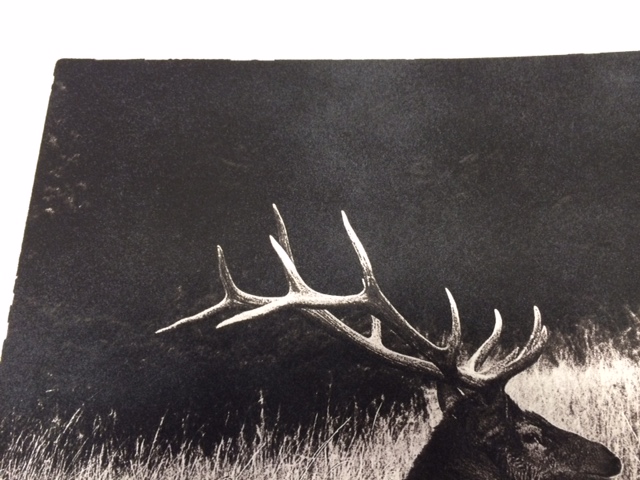
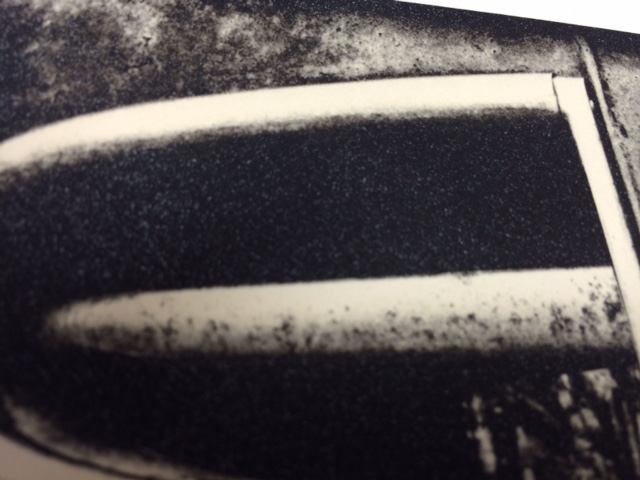
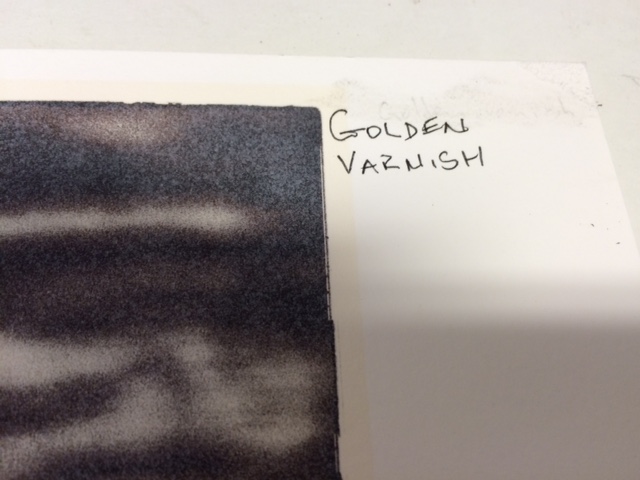
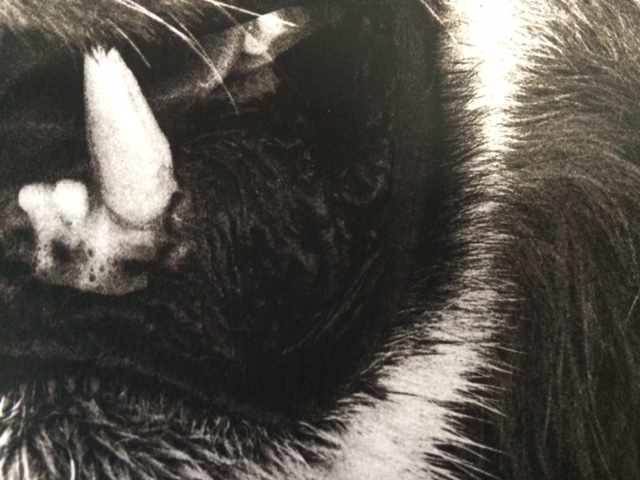
To say the difference was day and night is an understatement. Perhaps I was just sold a bad set of cans, but the Golden Varnish was a complete, unmitigated disaster. It left a whitish, speckled mess on my prints. This was especially noticeable in the shadow areas. Of course I followed all manufacturer directions. In the case of the Golden that included waiting an impractical 15-20 minutes (“minimum” to use their word) between coats. I did wait; 15, 20, 30 60, even 24 hours worth of minutes! There was no change in these splotches. They also suggest an absurd 6-8 thin coats for full fade resistance on ink jet prints. Are you kidding? Let’s do the math. One “full” coat equals two coats (one coat with the print straight up and one coat with the print rotated 90 degrees). For six full coats that means 12 coats. Now, if you wait 30 minutes between coats, that means approximately 6 HOURS worth of spraying for every print, irrespective of size!
These images show the effect of the Golden Varnish after ONE coat. Note the splotching (all images here were taken with an iPhone 5s).


Now let’s look at the Premier Print Shield.
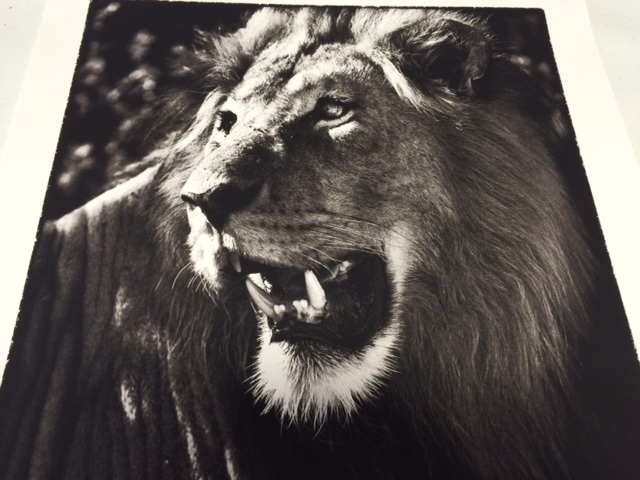
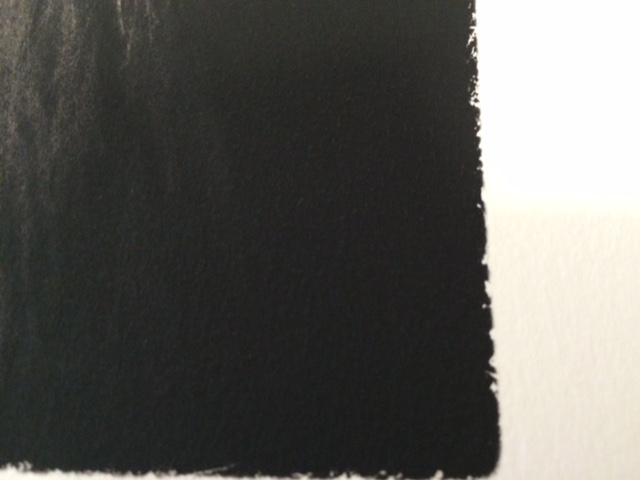
Nothing. That is you don’t notice anything different with the print. That is exactly as it should be. The shadow areas are totally fine.
Both sprays were easy to work with, although the Print Shield did have noticeably finer spray that was easier to control.
TIPS
If you are thinking of protecting your fine art images with a spray, here are some tips you may want to consider.
-
Before you begin to spray make sure your print is totally dry. I like to wait 24-48 hours before spraying, but I admit to being conservative in regard to my fine art prints.
-
Brush off your print with a fine art brush before spraying.
-
Whatever spray you use, pre-test it on a small print on identical paper to what you will use for the final print.
-
Always spray your prints while they are affixed in a vertical orientation. That prevents drips and splotches that sometimes happens with a spray can.
-
Be meticulous in wiping your nozzle after each coat.
-
Wear a mask or respirator. These fumes are bad.
-
Spray in an even pattern, going back and forth horizontally. Practice this, because this is the most important element of your spray technique. Do not turn your wrist or spray at an angle. Instead, keep the can pointed forward and move your arm and shoulder across the image. If you are dealing with a large print, squat down as you spray. Do not just point the can down.
-
Keep the can about 10 inches from the print and do not vary that distance as you go across. If your manufacturer suggests a different distance follow those directions. The danger of being too close is that you will get runs, drips or blotches of spray.
-
Overlap each spray pass by 50%.
-
Work smoothly and continuously. These sprays dry fast, so you want to get your overlaps done before they have a chance to dry completely.
-
Once you are done from top to bottom, wait 3-5 minutes (or however long the manufacturer suggests). Then rotate the print 90 degrees and repeat the process.
-
If you want a second coat, repeat the above process once again. I recommend at least two coats for uniform coverage and protection.
-
Let the print air dry for several hours after spraying before handling it a lot.
If you follow this process you will minimize potential problems with your print preservation. Stay tuned for the results of other tests we are conducting.